Replacing an air conditioner is one of the most disruptive but rewarding home projects you can schedule in Tucson. Summers here routinely push systems hard; a fresh installation can lower energy bills, improve humidity control, and give you reliable cooling for a decade or more. But a good outcome depends less on the sticker price and more on the preparation you do before the truck shows up. The following guidance comes from years of managing residential installs, watching mistakes that add hours and cost, and helping homeowners get the best system possible from technicians they can trust.
Why this matters A poorly planned installation https://rentry.co/zkguqz9x turns a straightforward job into a multi-day headache: technicians waiting for access, additional trips to pick up adapters, last-minute runs for permits, or surprises in the attic. In contrast, a prepared site means the crew can focus on workmanship, testing, and handing over a comfortable home. In Tucson, where an inefficient system can cost hundreds more per year, the difference between a rushed install and a well-executed one is both comfort and money.
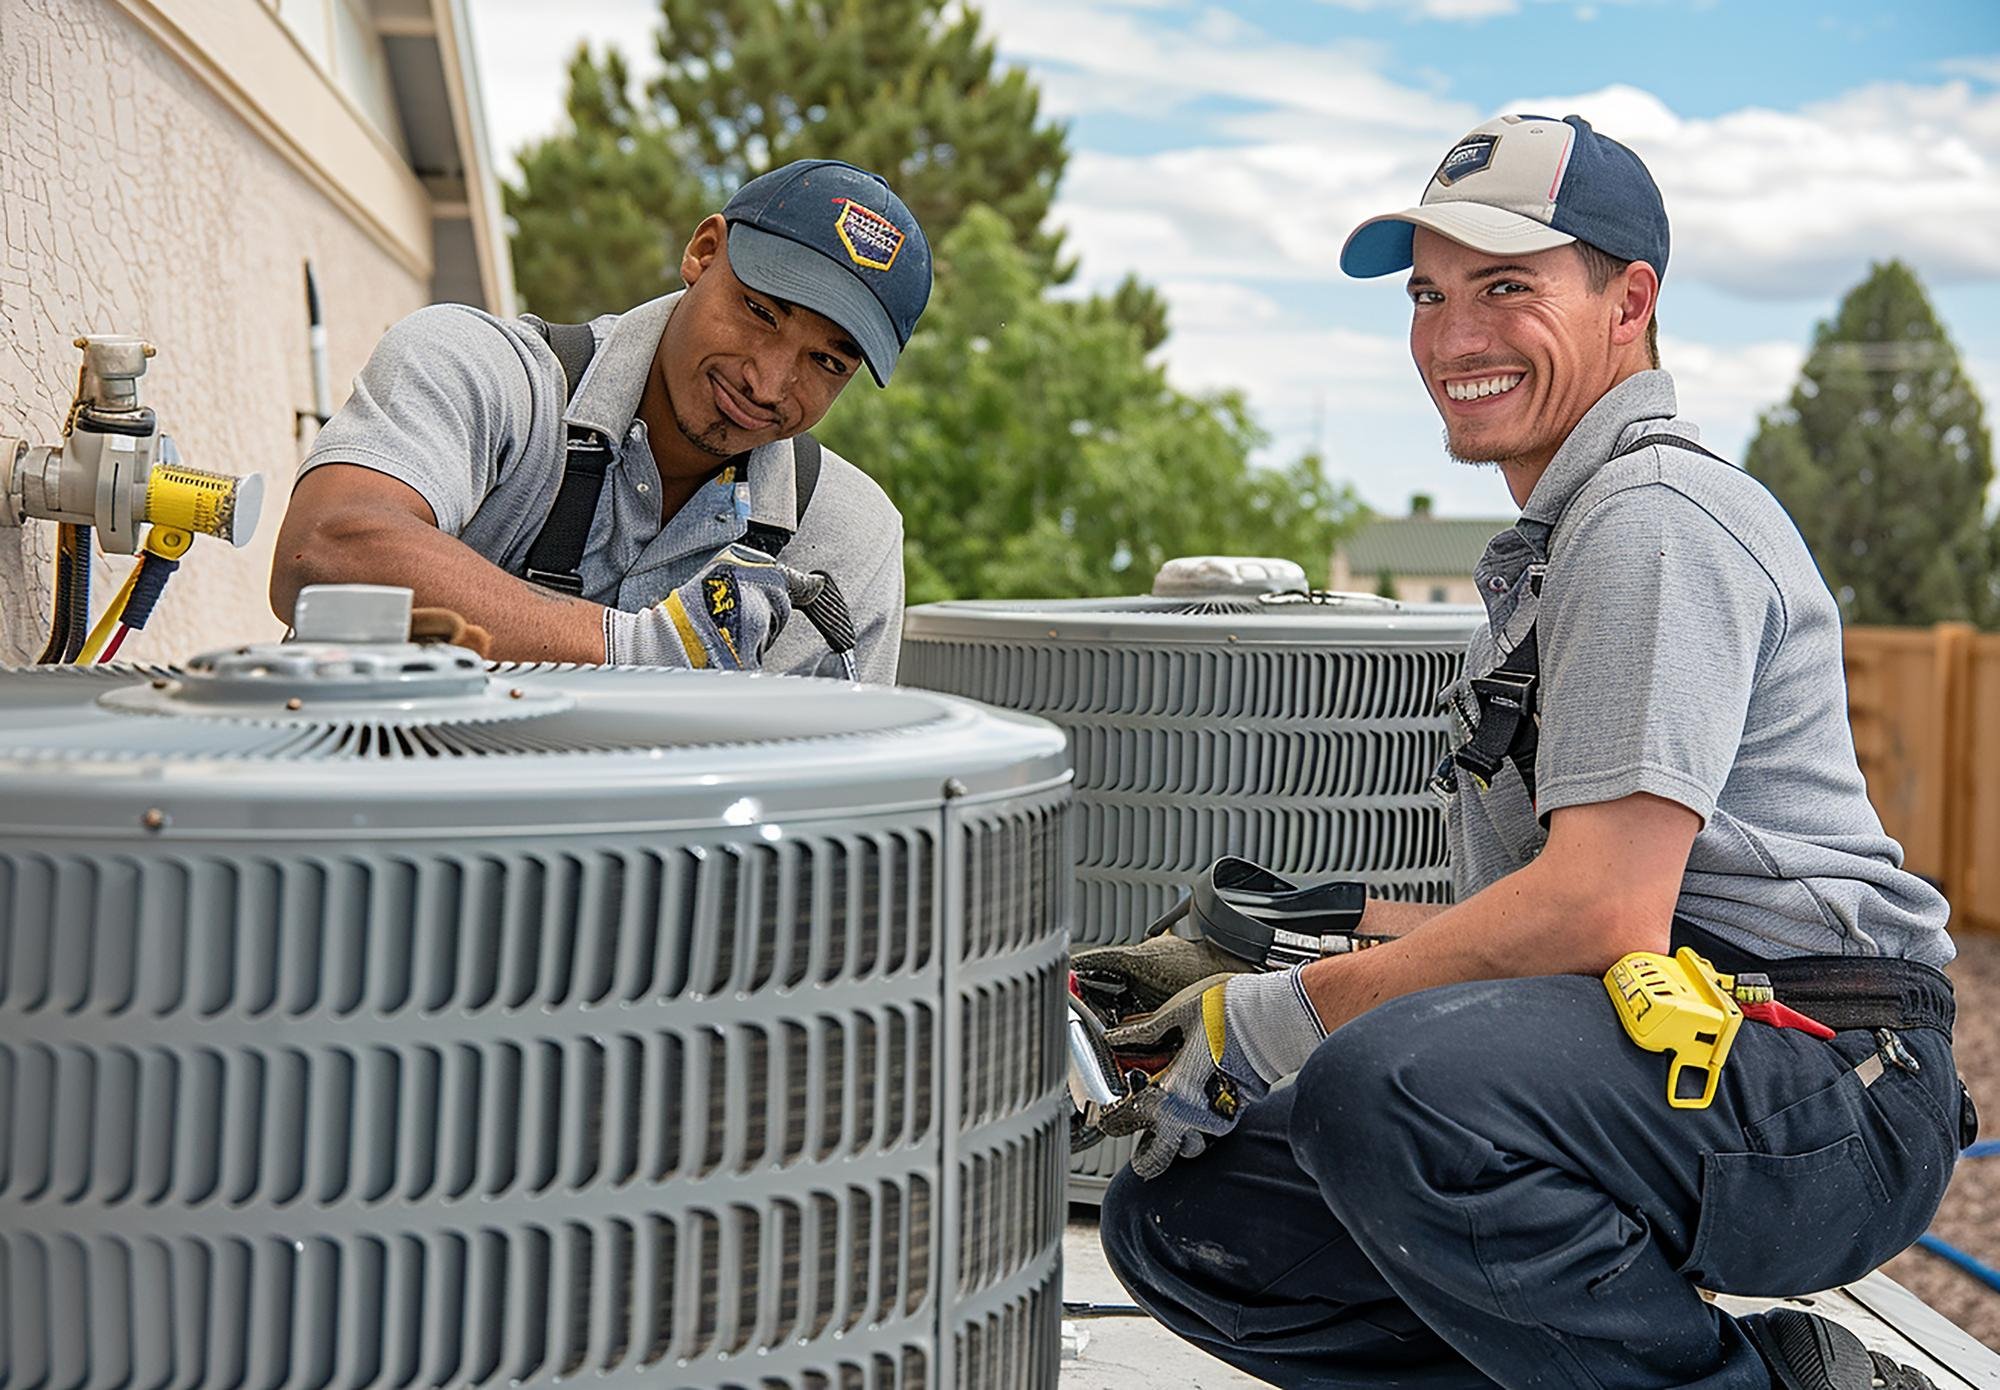
Choosing the right HVAC contractor Start by selecting a contractor whose work you can rely on. Look for local companies that do residential installs regularly and have a track record in the Tucson climate. Search terms like HVAC company near me, HVAC repair, or HVAC contractor will pull options; check reviews, Better Business Bureau entries, and whether they carry licenses and insurance for Arizona.
A few practical signs of a good contractor: they perform a load calculation rather than sizing the system by rule of thumb, they issue a written proposal that separates equipment, labor, and permits, and they can explain efficiency ratings and expected seasonal performance in plain language. If you call and the company immediately suggests a single brand or model without discussing your home, that is a red flag. Ask whether the crew will do the ductwork modifications and whether refrigerant recovery and proper disposal are included. If you want a local name, Plunkett Home Services is active in the area and can be a starting point for comparison shopping.
Pre-install checklist
Confirm the scope and permits with the contractor and local jurisdiction. Clear the outdoor unit area and route for the indoor unit access. Make the electrical panel accessible and note panel capacity. Secure pets and designate a staging area for tools and parts. Schedule the install on a mild weather day if possible and plan for occupant comfort.Each item is worth unpacking because the details matter.
Permits, load calculations, and paperwork In Tucson, most full replacement installs require a permit. A permit ensures inspections of electrical connections, refrigerant handling, and, when needed, duct changes. A reputable HVAC contractor will either pull the permit for you or supply the documents and guidance. Before signing, verify who pays permit fees and how change orders are handled.
A quality contractor performs a Manual J load calculation to size the system correctly. Tucson homes face high sensible cooling loads; undersized systems struggle and oversize systems short-cycle. Both scenarios waste money and shorten equipment life. If a contractor refuses to run a load calculation, walk away. Ask for the calculation results and a plain-English explanation of why the recommended size fits your home.
Access and site prep for the outdoor unit The outdoor condenser needs a flat, level pad and clear airflow. Inspect the area where the unit will sit. Remove vegetation, kids play equipment, patio furniture, and any stored items. Trim bushes back at least 2 feet from the planned unit location and keep a 4 foot clearance above the top. If the unit sits on grass, consider asking for a concrete pad or a composite pad to avoid settling and to reduce noise transfer.
If the planned location is more than 40 feet from the indoor air handler, expect longer line sets and some additional labor. Tell the contractor about any fences, gates, or narrow gates that could complicate moving a 150 to 250 pound condenser. If the crew must carry the unit up or down stairs, ask whether they bring appliance dollies or a small crane. Extra handling increases risk and cost.
Indoor access, ductwork, and air handler location Most installations require technicians to access the air handler or furnace in the attic, garage, or closet. Clear a 6 foot by 6 foot working space around the air handler, remove stored boxes, and secure any shelving. In attics, roll up or move insulation in the immediate area so the crew can access panels and ducts safely. If you have high ceilings, cathedral ceilings, or limited attic space, tell your contractor upfront; those installations often require extra support or longer work.
Duct condition matters as much as the equipment. Sealing and insulating leaky ducts can recover several percent of system efficiency, sometimes returning 10 to 30 percent of lost cooling. Ask for a duct inspection. If the ducts are old, sagging, or have missing access panels, budget for repairs. A new high-efficiency system paired with leaky ducts defeats the purpose.

Electrical panel capacity and disconnects Air conditioners demand dedicated breakers and proper disconnects. Check your electrical panel for available space and label capacity. Photographs are useful; send them to the contractor before the site visit so the electrician can confirm whether a panel upgrade is necessary. If you have an older home with a 60 amp service, you may need a service upgrade to 100 or 200 amps depending on the new equipment and other loads.
Outside, the disconnect switch by the condenser must be within sight or within 3 feet in some jurisdictions. Confirm whether the contractor will install the disconnect and whether it is fused or non-fused. If a meter-main replacement or service upgrade is needed, this can add several days to the schedule and a few hundred to a few thousand dollars to the budget. It is better to discover that before install day.
Thermostat, controls, and smart integration Decide on the thermostat before installation day. Many homeowners upgrade to modern Wi-Fi or zoning-capable thermostats to get better control and efficiency. A new thermostat may require a common wire, labeled C, which some older systems omitted. If you want zoning or a multi-stage thermostat, discuss wiring in advance so the crew brings the right wire lengths and terminal adapters.
If you already have smart home systems, let the contractor know which platform you use. Some smart thermostats need configuration and account setup that takes time during the handoff. Plan for 20 to 60 minutes of training so you understand the app, scheduling, and energy reports.
What to expect on install day
Arrival window and identification from the crew. Pre-work walkthrough and system verification. Removal of the old equipment and proper refrigerant recovery. Installation of new components, refrigerant charging, and basic testing.On arrival, expect the crew to verify the scope and look for any last-minute site issues. A foreman should walk the house with you or the homeowner to confirm access points, parking, and where the condensate drain will run. Ask them to point out where the outdoor unit will be positioned and where they will stage materials.
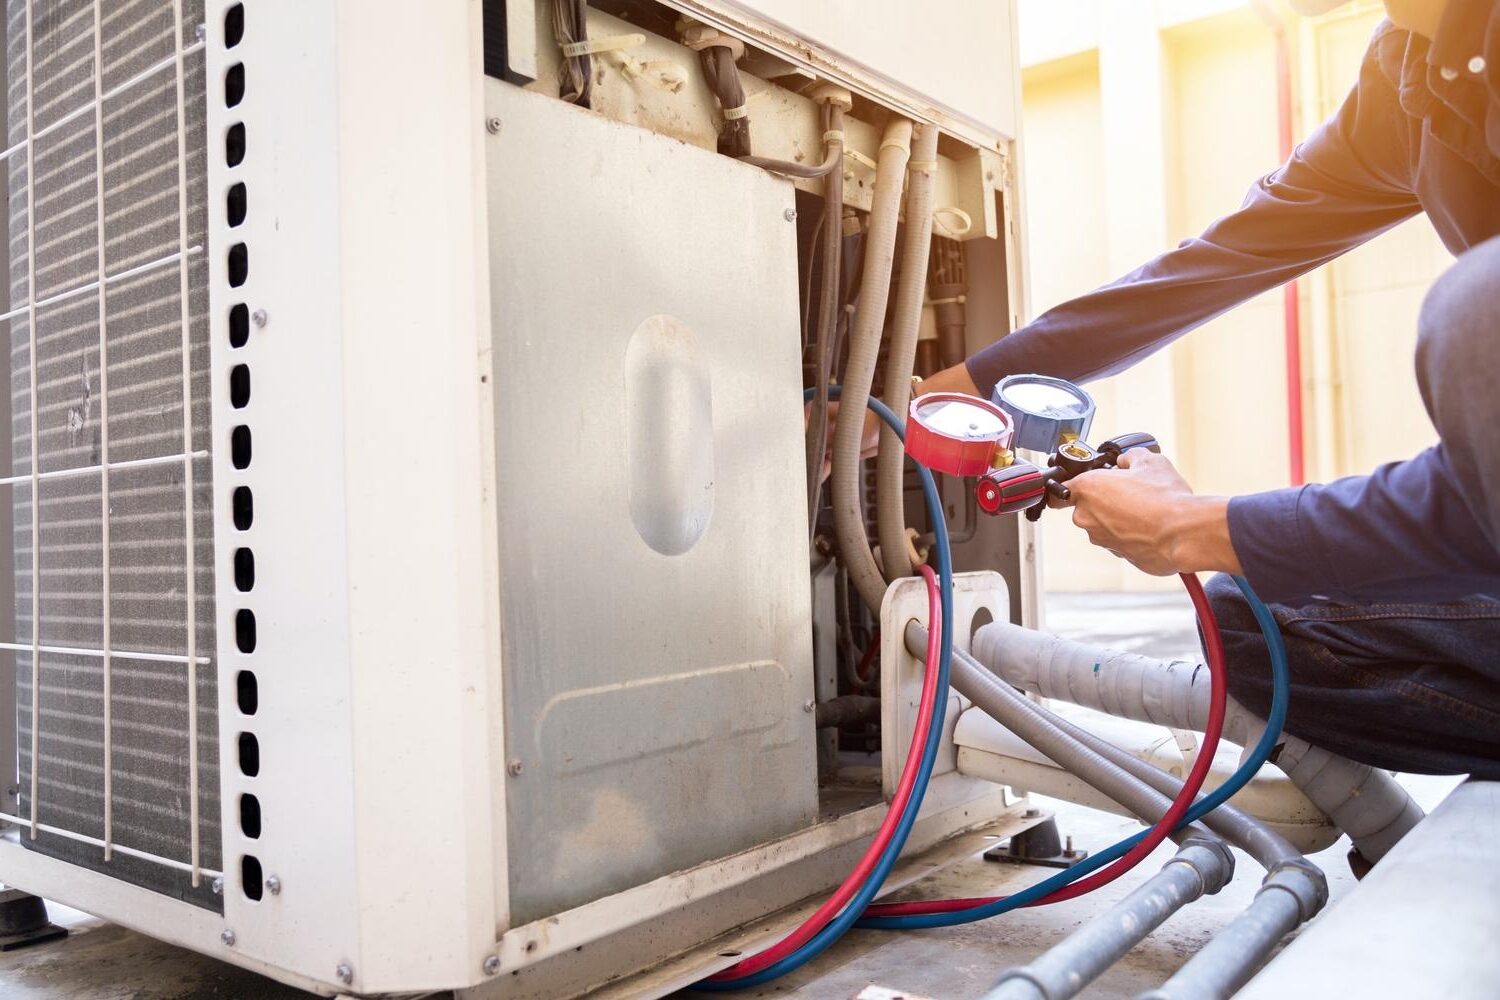
Removal of old equipment is not glamorous but it is critical. Licensed technicians must recover refrigerant using recovery machines and cylinders. If the system was abandoned or leaks refrigerant, that can complicate removal and add time. If your old system contains R-22 refrigerant, disposal has extra cost and environmental controls because R-22 is phased out. Expect a proper invoice line for refrigerant recovery and disposal.
During installation, technicians will mount the condenser, set the pad, run line sets, and connect the air handler. At each major step, they should test electrical connections, check refrigerant pressure, and verify airflow. A thorough startup includes measuring static pressure, verifying superheat or subcooling depending on system type, and balancing airflow across registers. Demand these checks. They are what separate a pretty install from a lasting, efficient one.
Noise and vibration considerations Tucson homeowners often discover that a new unit transmits more vibration if the pad sits directly on a wood deck or thin slab. Ask for vibration pads or a composite pad to isolate noise. If the condenser sits near a bedroom, request that the crew evaluate the sound profile and, if necessary, rotate the unit, add a small barrier, or lift it slightly. These changes add modest cost but can save sleepless nights.
Occupant comfort, pets, and safety On hot days, plan for a temporary cooling strategy. If the system will be down for only a few hours, fans or a portable AC in a bedroom may suffice. For full replacements that stretch into a day, consider staying elsewhere during the hottest hours if you have vulnerable people or pets. Notify your contractor if anyone in the home uses medical equipment that requires power; coordinate accordingly.
Keep pets in a secured area or off-site. Technicians often carry sharp tools, refrigerant tanks, and heavy components. An anxious pet can disrupt the crew or put itself at risk. If your home has a security system, provide temporary codes or keep sensors deactivated for the work area to avoid false alarms.
Common surprises and how to avoid them Mismatched equipment. Some installations are rushed because a homeowner approved a basic quote without specifying indoor coil size or matching manufacturer requirements. That leads to extra trips or poor performance. Insist on manufacturer-matched coils and line sets sized to manufacturer specifications.
Rusted or damaged refrigerant lines. Corroded or kinked lines often require cutting back and brazing in new sections. Photographing line paths during the estimate helps the crew plan. Expect small additional charges if the old lines need full replacement.
Drainage and condensate issues. If your attic or garage receives condensate, old drain lines may be clogged with mold or debris. Technicians should run a clear water test and verify proper trap and slope. If the condensation could damage finished areas, consider a condensate pump or reroute to a safe termination point.
Budgeting and quotes Get at least three written quotes. Make sure each quote separates equipment, labor, permits, and optional ductwork or electrical upgrades. For equipment, request SEER ratings and manufacturer warranties. Ask about labor warranties covering installation workmanship. Many contractors offer 1 to 10 year warranties on parts and labor; longer labor warranties often indicate confidence in installation practices.
Beware low-ball bids that omit permits or include "as-needed" language for parts and labor. Those bids look cheaper until the invoice arrives. Similarly, top-end bids are not always better. Focus on clarity and the contractor's willingness to explain trade-offs: higher SEER ratings save more energy but cost more up front; two-stage compressors smooth temperature swings but add complexity.
Financing and tax incentives Many homeowners finance installs through contractor financing, credit unions, or home equity lines. Tucson utilities and federal programs sometimes offer rebates for qualifying high-efficiency equipment. Check local utility websites and ask your contractor about current rebates or tax credits for energy-efficient systems. These offers change, so request documentation before signing.
Post-install habits that extend system life Once the system is in, simple habits keep it efficient. Change filters every 1 to 3 months depending on type and household conditions. Keep return vents unobstructed, and schedule a professional tune-up annually. For two-stage or variable-speed systems, annual calibration of controls and refrigerant check will preserve efficiency. Keep the outdoor unit clear of debris and wash it gently once a year. If landscaping grows, maintain the clearances discussed earlier.
When to call for services beyond installation If you notice uneven cooling across rooms, excessive cycling, or rising energy use shortly after installation, call your installer. Many issues are fixable adjustments: airflow balancing, thermostat configuration, or refrigerant tweaks. For emergency situations like loss of cooling during a heat wave, search Emergency AC repair near me and contact your contractor immediately; some reputable companies offer after-hours support and standby repairs.
Final persuasion: why prepare well Good preparation shortens install time, reduces hidden costs, and preserves the contractor's time for quality work. Your role as a homeowner is simple: choose a reputable HVAC contractor, clear the work areas, confirm permits and load calculations, plan for electrical needs, and secure pets and belongings. The payoff is tangible. With proper setup, expect a new system to run quieter, use 20 to 40 percent less energy than an older 10 to 15 year-old system depending on SEER jumps, and deliver more consistent comfort across your home.
If you would like a second opinion on a quote, or an onsite checklist tailored to your specific home layout, many local companies including Plunkett Home Services will perform an assessment and discuss options. Preparing well before the installers arrive makes your investment easier to manage and much more likely to perform the way you expect for years to come.
Plunkett Home Services
3144 E Fort Lowell Rd, Tucson, AZ 85716, United States
+1 (520) 808-2743
[email protected]
https://callplunkett.com/